Step by step guide to automating web application in Protractor
Step 1: Download nodejs and JDK (java development kit)
Download nodejs
Step 2: Launch command prompt and type below command to install protractor from npm (node package manager)
npm install -g protractor

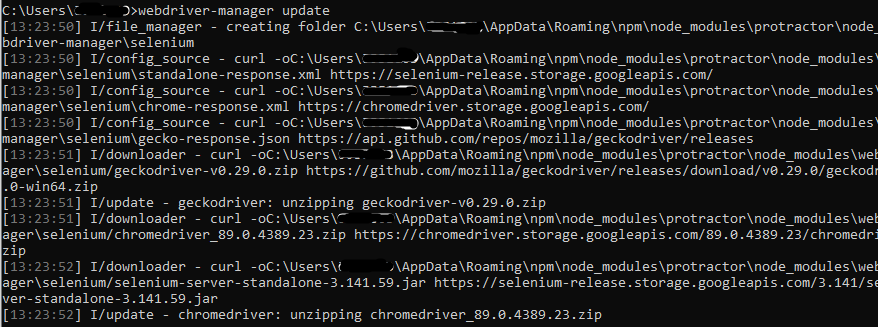
Step 3: Get an instance of selenium server running by using the following command
webdriver-manager update

Step 4: Start the server with the help of the following command:
webdriver-manager start

Step 5: Launch localhost at port 4444 to see the logs of the protractor test requests sent to this server to control the browser.
http://localhost:4444/wd/hub
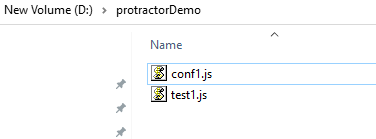
Step 6: Create a directory, and create two javascript files- one is the spec file which is nothing but our test file.
Another one is the config file. Spec files are the test files in Protractor,
and each spec file has a corresponding config file.
The config files tell the protractor where to find the spec file and which server to send the commands to.
Protractor uses the jasmine framework therefore you'll find jasmine syntax along with protractor commands in the spec files.

Put the following code in the spec file (i.e. test1.js). The below test will launch the angular site and click on the "Get Started" button to navigate to https://angular.io/docs
describe('angular test', function() {
it('should launch angular site', function() {
browser.get('https://angular.io/');
var v1=element(by.css('div.homepage-container')).element(by.tagName('a'));
browser.wait(v1, 5000);
v1.click();
browser.sleep(2000);
});
});
Put the following code in the config file
exports.config = {
seleniumAddress: 'http://localhost:4444/wd/hub',
specs: ['test1.js']
};
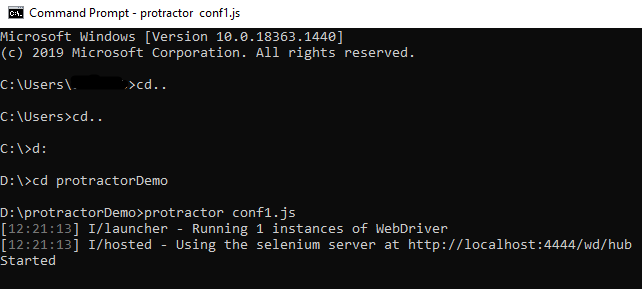
Step 7: Now to run the protractor test, open the command prompt, go inside the directory where config and spec files are kept, and write the following command and hit enter.
protractor conf1.js

This will launch the application over chrome browser and click the "Get started" button on the landing page.
